HOW-TO
Exterior Stain Prep
HOW-TO
Exterior Stain Prep
THE BASICS OF EXTERIOR STAINING PREP
We know you want to be proud of the way your stained wood looks—and one of the secrets for success is to prep the wood before you begin. These easy-to-follow steps will help you get pro-like results, right from the start.
Cabot - How to Prep Wood Before Staining
Recommended Products
Other Supplies You May Need
- Clean cloth
- Garden pump sprayer
- Scraper
- Scrub brush or power washer
- Ladder
- Sandpaper
- Safety glasses
- Rubber gloves
HOW TO REMOVE CONTAMINANTS
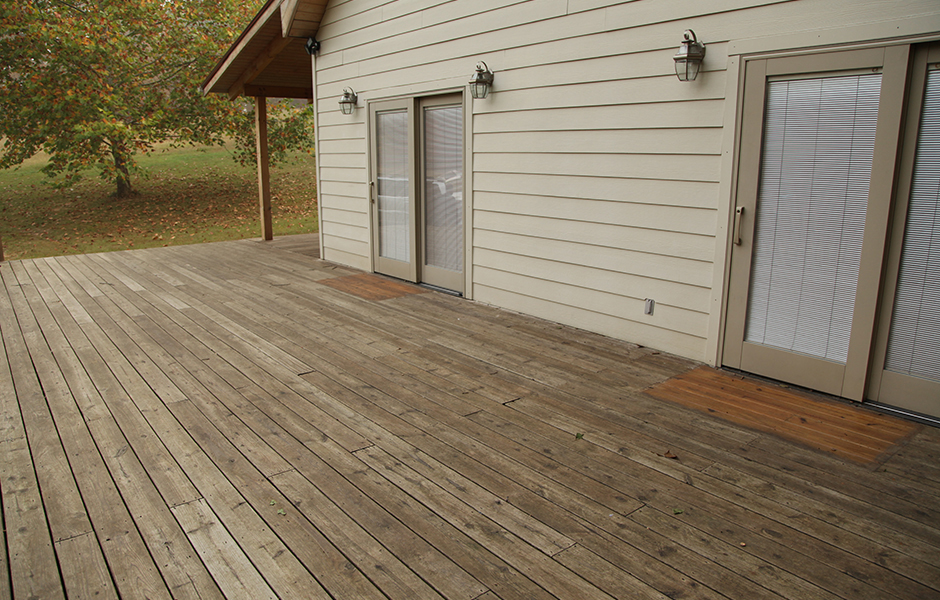
Over time, the surface of wood can become contaminated with a wide range of substances, such as mildew, soot, rust and tannin bleed. Each of these contaminants has its own tell-tale signs—and each one requires a different treatment.
- Cabot Wood Cleaner Concentrate
Prep your deck and outdoor furniture for staining with Cabot® Wood Cleaner Concentrate. The concentrated formula makes up to 5 gallons of cleaner once diluted with water. Remove dirt, mildew stains and other foreign matter from unfinished or weathered wood surfaces. Set your stain job up for success. - Cabot Wood Brightener Concentrate
Get the most out of your deck prep before staining with Cabot Wood Brightener. Formulated to remove unsightly discoloration of wood from tannin bleed, this brightener also removes nail and metal rust stains. Use on all painted, stained and unfinished wood with great results. Bring back the rich, new-wood look on weathered wood with this brightener. Once diluted with water, the concentrate makes up to 5 gallons of wood brightener.
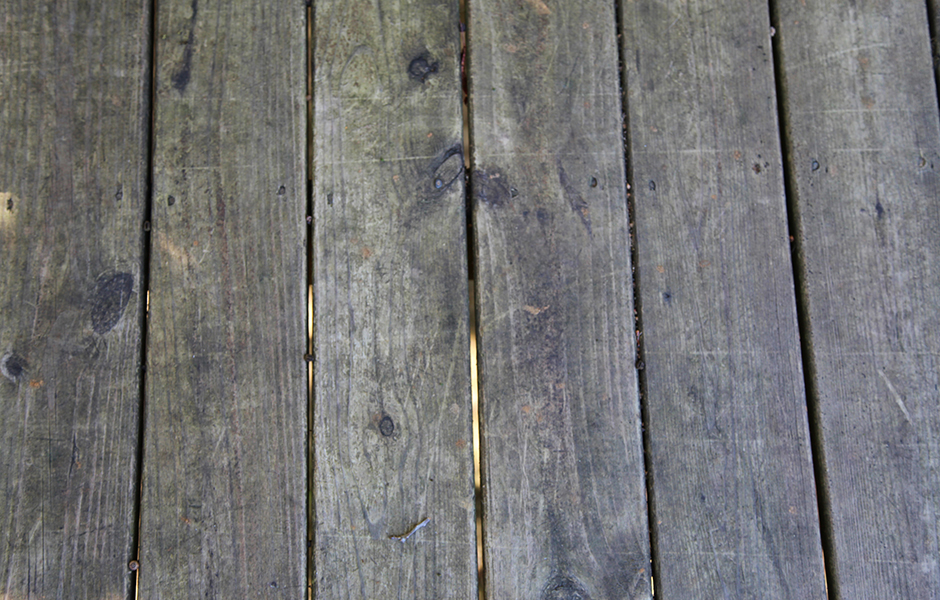
TEST FOR FLAKING STAIN AND LOOSE FIBERS
Flakes of old stain or loose wood fibers can cause problems when staining, so they should be removed before you begin your project. Fortunately, it's easy to check for this problem: Just press a piece of household tape firmly against the wood. When you tear it away, look for flakes or fibers. If you see any, you'll want to sand, scrape or power wash your wood surface to remove loose debris before you stain. (Always follow the manufacturer's directions when using a power washer.)
REPAIR ANY IMPERFECTIONS
If the wood is cracked, has holes or gouges, but is not rotten, apply Cabot® High-Performance Exterior Wood Filler to the affected areas. This will eliminate the need to install new boards and gives the wood a smooth surface for staining. Cabot® High-Performance Exterior Wood Filler can also be used as an adhesive for anchoring screws or securing loose joints in wood furniture.
WARNING! If you scrape, sand, or remove old paint, you may release lead dust. LEAD IS TOXIC. EXPOSURE TO LEAD DUST CAN CAUSE SERIOUS ILLNESS, SUCH AS BRAIN DAMAGE, ESPECIALLY IN CHILDREN. PREGNANT WOMEN SHOULD ALSO AVOID EXPOSURE. Wear a NIOSH-approved respirator to control lead exposure. Clean up carefully with a HEPA vacuum and a wet mop. Before you start, find out how to protect yourself and your family by contacting the National Lead Information Hotline at 1-800-424-LEAD or log on to www.epa.gov/lead.
The time you spend prepping your exterior wood surfaces is time well spent. And you'll be reminded of that whenever you look at how beautiful your siding, deck, fence and furniture looks when they're stained.