HOW-TO
New Construction
HOW-TO
New Construction
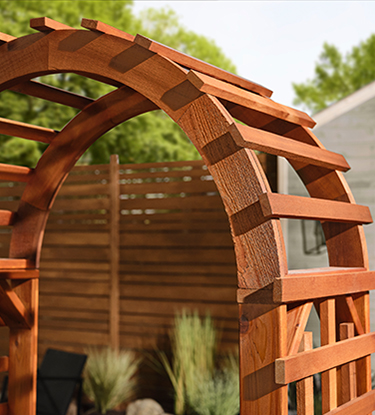
GETTING THE LONGEST LIFE FROM NEW CONSTRUCTION
One big advantage to building (or having a contractor build) exterior wood structures from scratch is that the surfaces can be prepped correctly right from the start. Taking a few simple steps now can give your new wood the protection it needs to stay virtually maintenance-free for years.
Here’s how to get started....
THE BASICS OF CHOOSING WOOD FOR SIDING
Wood grade: You get the most value from buying “clear all heart vertical grain siding.” This wood is usually hung smooth side out, and it accepts solid color stains and paints well. Lesser grades such as “Aye or better” and rustic grades can also be used, but they usually contain knots.
Wood types: Siding is available in redwood, western red cedar, cypress, treated pine and—more recently—mahogany and other imported hardwood species. Western red cedar is often considered the best choice for siding.
Siding styles or patterns: Siding can be installed in a variety of patterns, including the common “bevel” pattern, also known as “clapboard.” Other patterns are tongue and groove, channel rustic and shiplap. Take a look at each of these styles before making your decision.
TIPS FOR A SUCCESSFUL INSTALLATION OF SIDING
Keep wood dry. Once you’ve chosen your siding, make sure the wood has low moisture content and is dry when delivered. Store the wood indoors, if possible, or off the ground on blocks. Cover the wood loosely to protect it from the rain.
Lightly sand. If you have new trim boards, a light scratch sanding can help the primer or stain adhere better.
Caulk all joints. Use a 100% acrylic compound, a paintable, siliconized acrylic blend, or a polyurethane sealant to fill larger joints. Don’t overlook the roof-siding joint. If you have loose or missing caulking, replace it.
Use flashing over all windows and doors. And remember, exterior T1-11 plywood and hardboard panels require a special flashing between the panels.
Provide good ventilation in all living spaces, crawl spaces and attics. This will help keep the humidity level down.
TIPS FOR DECKS
Because of their exposure to the elements and foot traffic, decks can benefit from some extra prep work.
Dry the wood thoroughly and stain all six sides prior to assembly.
New lumber that’s freshly treated will not allow a stain to adhere until the treatment has worn down and the lumber dries out. A simple water test will help you determine if this is an issue: Wet the surface with a garden hose. If the water beads up, you can lightly sand the surface to allow the stain to adhere. You can also wait a few months until the treatment has worn off.
The open end-grain of railing systems, furniture legs and other structures that touch the ground are vulnerable to water infiltration. So saturate them with stain for extra protection.
For good air circulation, make sure the deck you’re building is at least 18 inches off the ground.
It doesn’t take much extra effort to ensure a longer-lasting finish on your new wood structures. But that small investment of time will be paid off with professional-looking results that last longer.